Skin Customization
HyCitizens gives you multiple ways to control how a citizen looks — from using an existing player's skin to fully customizing every individual cosmetic slot.
Player Model Citizens Only
Skin customization only applies to citizens using the Player Model entity type. If your citizen uses a different entity model (e.g. a creature or mob), there is no skin to configure.
Skin Options Overview
When editing a Player Model citizen, the Player Skin Configuration card in the Edit Citizen screen offers four ways to set the skin:
| Option | What it Does |
|---|---|
| Skin Username | Type a player's username to fetch and use their skin. Leave empty to use your own skin. |
| Use My Skin button | Fills in your own username as a shortcut. |
| Random Skin button | Generates a completely random cosmetic combination for the citizen. |
| Customize Skin button | Opens the full Skin Customizer UI to hand-pick individual cosmetic slots. |
Live Skin Updates
The Enable Live Skin Updates checkbox makes HyCitizens re-fetch the skin from the given username every 30 minutes. Disable this if you are using a Random or Custom skin — otherwise the auto-refresh will overwrite your customization.
The Skin Customizer UI
Clicking Customize Skin opens the Skin Customizer — a dedicated interface where you can pick every individual cosmetic piece for the citizen's appearance. Changes are previewed on the citizen in real time as you click.
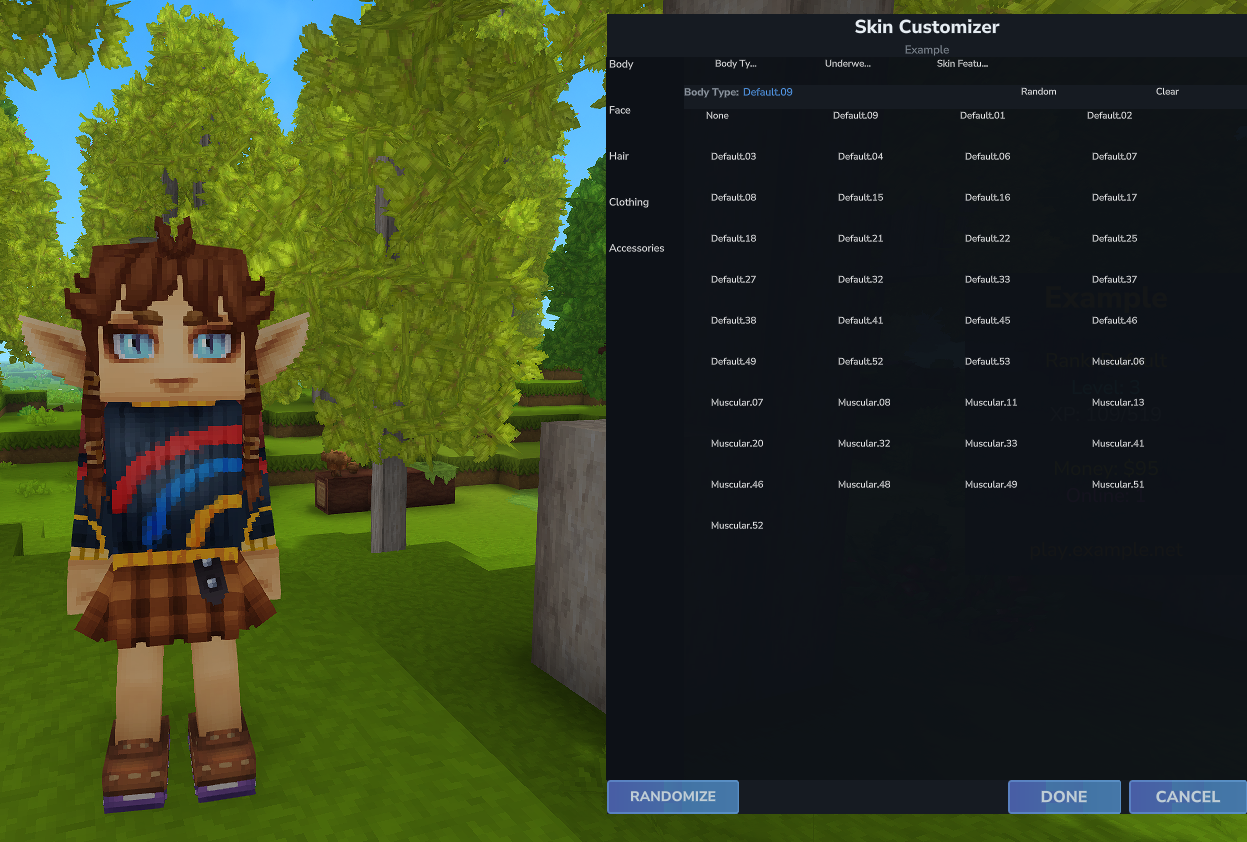
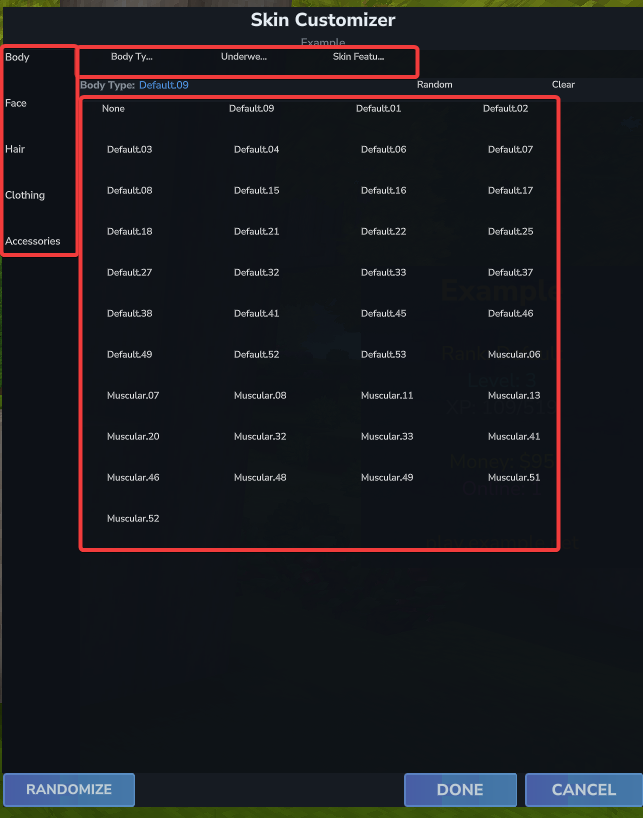
UI Layout
The Skin Customizer is divided into four areas:
- Category Sidebar (left) — A column of buttons for each major cosmetic category (e.g. Body, Hair, Face, Outfit, etc.). Click a category to switch to it.
- Slot Tabs (top of main area) — Within each category, there may be multiple slots (e.g. within Hair: Hair Style, Hair Color). Click a tab to select that specific slot.
- Info Bar — Shows the currently selected slot name and its active value. Also has a Random button (randomizes just this slot) and a Clear button (removes the current value for this slot).
- Options Grid — A scrollable grid of tile buttons representing all available options for the selected slot. The highlighted tile is the currently applied value. There is always a None tile to clear a slot.
Browsing and Selecting Cosmetics
- Click a category in the left sidebar to navigate to a group of cosmetic slots.
- Click a slot tab at the top to select the specific slot you want to change.
- Click any tile in the grid to apply that cosmetic to the citizen. The citizen updates in real time so you can see the result immediately.
- Click None at the start of the grid to remove a cosmetic from that slot (leaves the slot empty).
- Click the Random button in the info bar to pick a random option for just this slot.
- Click Clear to remove the current value from just this slot.
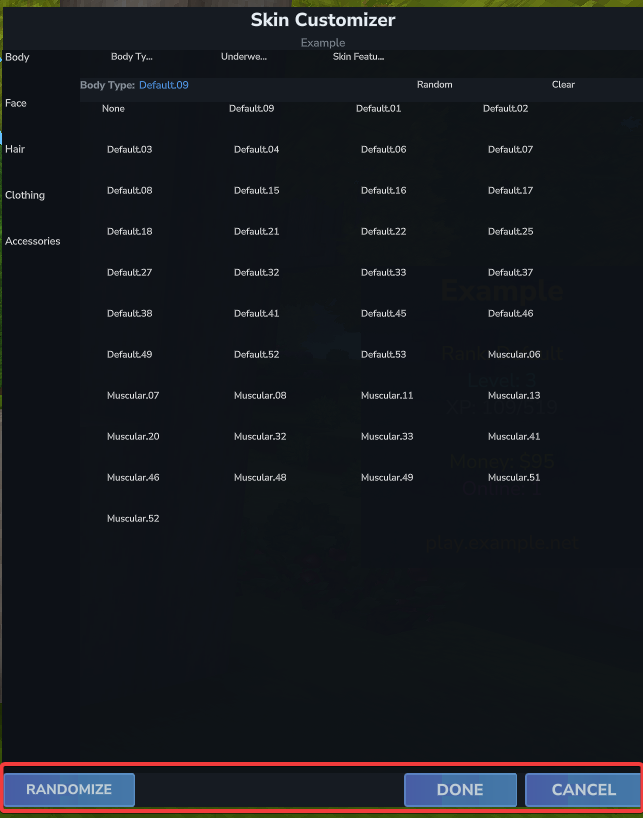
Bottom Action Bar
At the bottom of the Skin Customizer, three buttons control the overall session:
- Randomize — Generates a completely random combination across all slots at once.
- Done — Saves the customized skin to the citizen and returns to the Edit Citizen screen. The citizen's skin is immediately updated.
- Cancel — Discards all changes made in this session and reverts the citizen's skin to what it was when you opened the customizer.
How Skins Are Saved
When you click Done in the Skin Customizer, HyCitizens saves the skin to the citizen's config file, disables Live Skin Updates automatically, and sets an internal identifier so it knows the skin is custom. No server restart is required — the citizen updates instantly.